Why Proper Bathroom Ventilation is Essential for Your Home
Bathroom exhaust fan installation is a crucial project to prevent moisture damage, eliminate odors, and protect your home. Here’s what you need to know:
Key Installation Steps:
- Turn off power at the circuit breaker
- Remove old fan (if replacing) and cut ceiling hole
- Mount new fan housing securely to ceiling joists
- Run ductwork to an exterior wall or roof vent
- Connect electrical wiring (black to black, white to white)
- Test the fan and install the grille
Essential Requirements:
- CFM Rating: Calculate using room square footage × 1.1
- Venting: Must exhaust directly outdoors (never into the attic)
- Tools: Drill, jigsaw, circuit tester, safety gear
- Time: 2-6 hours depending on complexity
Without proper ventilation, your bathroom becomes a breeding ground for problems. Excess moisture leads to mold and mildew growth, warped woodwork, and peeling paint—issues that can cost thousands to repair.
As one contractor noted, a fanless bathroom lets moisture migrate into walls, growing mold and mildew, much like a fireplace without a chimney.
The good news is that installing a bathroom exhaust fan is a moderately easy DIY project. With the right tools and step-by-step guidance, you can improve your home’s air quality and prevent costly moisture damage.
Why Your Bathroom Needs a Fan & How to Choose the Right One
A steamy, fogged-up mirror and a lingering musty smell are more than annoyances—they’re signs your bathroom needs better ventilation.
Moisture control is the primary job of a bathroom fan. Every shower or bath adds humidity to the air. Without an exhaust fan, this moisture seeps into your walls, ceiling, and fixtures, causing expensive damage. Peeling paint and warped wood are early warning signs, but the biggest concern is mold and mildew. These fungi thrive in damp environments and can trigger allergies and respiratory issues. A quality fan actively pulls moist air out, protecting your home and family.
Beyond moisture, a fan improves air quality by eliminating odors and airborne contaminants, creating a more pleasant space. If your current fan is making loud noises, has slow startup times, or leaves lingering humidity, it’s time for a replacement.
Understanding Fan Specifications: CFM and Sones
Two key specs determine a fan’s performance: CFM and Sones.
CFM (Cubic Feet per Minute) measures how much air the fan moves. The room size calculation is simple: for bathrooms 100 sq. ft. or less, multiply the square footage by 1.1. A 100-square-foot bathroom needs a 110 CFM fan. For larger bathrooms, add 50 CFM for each toilet, shower, or tub, and 100 CFM for a jetted tub.
Sone rating measures noise level—the lower the number, the quieter the fan. A quiet fan is used more consistently, leading to better moisture control. ENERGY STAR recommendations suggest fans with ratings of 1 sone or less. For comparison, a modern refrigerator is about one sone.
| Sone Level | Noise Description | Example Equivalent |
|---|---|---|
| 0.5 – 1.0 | Whisper Quiet | Rustling leaves |
| 1.5 – 3.0 | Quiet | Low conversation |
| 4.0 + | Loud | Refrigerator hum |
Types of Bathroom Exhaust Fans
- Ceiling-mounted fans: The most common type, installed in the ceiling to effectively capture rising moist air.
- Wall-mounted fans: Ideal for bathrooms without attic access, as they install directly through an exterior wall.
- Inline fans: The quietest option. The motor sits in the attic, connected by ductwork, so you hear very little in the bathroom.
- Fan/light combos: Combine ventilation and lighting in one unit, saving ceiling space and simplifying wiring.
- Fan/heater combos: Provide ventilation and warmth, perfect for cold mornings.
- Window exhaust fans: A solution for apartments or homes where other options aren’t feasible.
For more guidance on designing your bathroom space, check out our insights on bathroom design and build.
Estimating Your Project Cost

Project cost depends on the fan you choose and whether you DIY or hire a pro.
Material costs for a DIY project are reasonable. A quality fan unit is typically $150 to $250, a vent duct kit is about $30, and electrical wiring (if needed) adds $50 or more. Your total project cost range for materials is around $230 to $350.
Professional installation typically runs about $550 total, including labor. By choosing the DIY route, you can save significantly on labor cost estimates and complete a smart investment that prevents moisture damage and improves air quality.
Gearing Up: Tools & Materials You’ll Need
A smooth bathroom exhaust fan installation starts with having all your tools and materials ready. This checklist will ensure you’re prepared and safe.

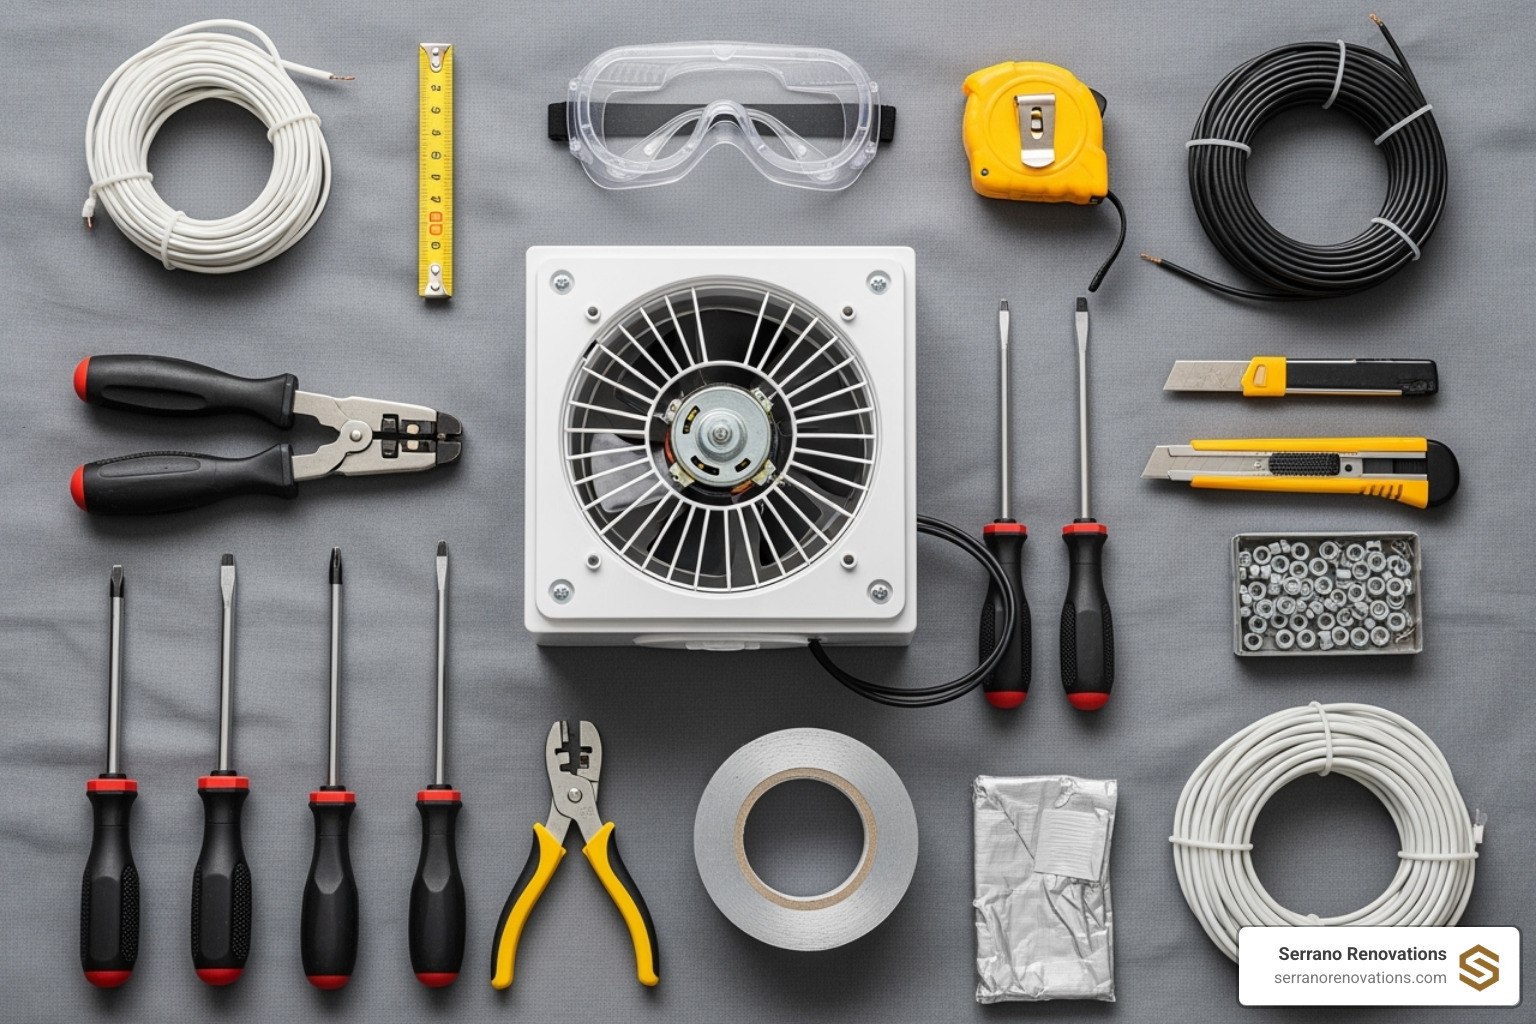
Safety first: Safety goggles and a respirator or dust mask are essential for protecting you from drywall dust and debris.
Essential Tools
- Drill/driver: For pilot holes and securing screws.
- Jigsaw or drywall saw: To cut the opening in the ceiling.
- Tape measure: For precise measurements.
- Stud finder: To locate ceiling joists for secure mounting.
- Circuit tester: To confirm the power is off before touching any wires. This is non-negotiable for safety.
- Stepladder: For safe access to the ceiling.
- Caulk gun: To apply sealant.
- Wire strippers and pliers: For cutting, bending, and stripping wires.
Necessary Materials
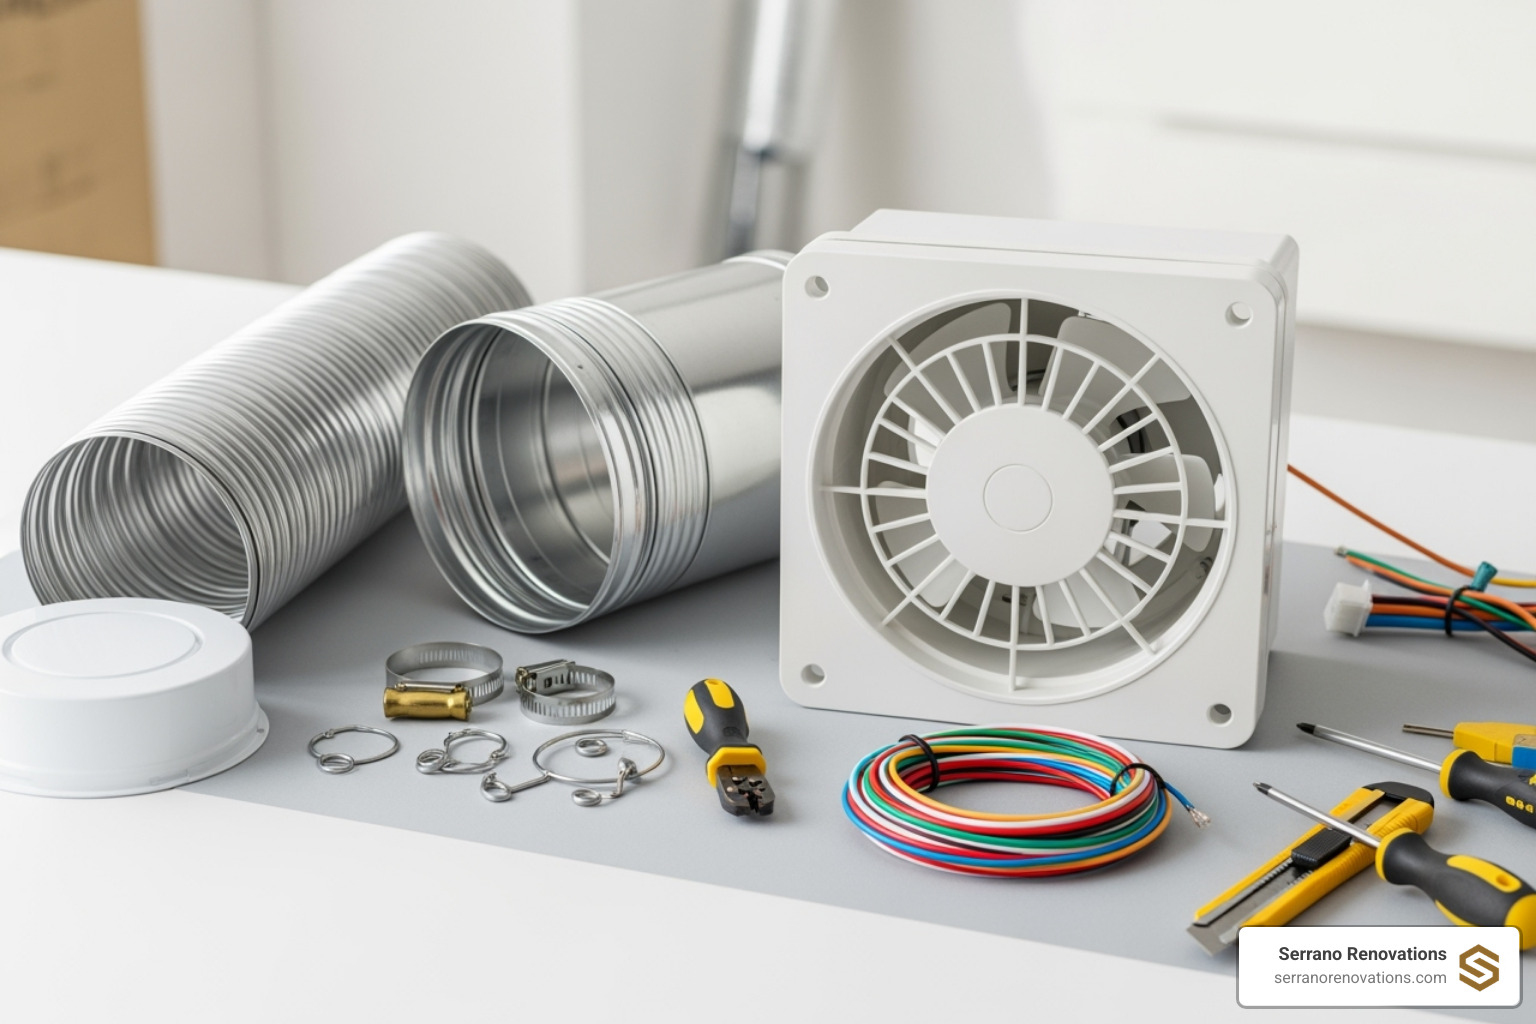
- New exhaust fan unit: Matched to your CFM and sone needs.
- Flexible duct pipe: Typically 4-inch or 6-inch diameter. Choose insulated ductwork for unconditioned attics.
- Exterior vent cap (roof or wall): To exhaust air outside.
- Foil duct tape: To seal all duct connections. Do not use fabric-backed duct tape.
- Wire connectors (wire nuts): For securing electrical connections.
- Drywall screws: To mount the fan housing.
- Silicone caulk or sealant: To create air-tight seals around the fan housing and exterior vent.
- Roofing cement: For a watertight seal if venting through the roof.
- Utility knife: For cutting ductwork and other materials.
The Ultimate DIY Bathroom Exhaust Fan Installation Guide
This guide walks you through a bathroom exhaust fan installation, whether you’re replacing an old unit or installing a new one. The process is manageable for a confident DIYer with basic carpentry and electrical skills. If you’re uncomfortable with wiring, consult a licensed electrician.

Safety First: Always turn off power at the circuit breaker and use a circuit tester to confirm it’s off at the fan’s location before you begin.
Step 1: Preparation and Removing the Old Fan
For a replacement, start by switching off the correct circuit breaker. Use your circuit tester to double-check that no power is flowing to the fan. Remove the fan cover, which usually pulls down or has spring clips. Unplug or unscrew the motor and blower unit, then disconnect the electrical wires and ductwork from the old housing. Remove the screws or nails securing the housing to the ceiling joist and take it out. Clean up any dust and debris.
Step 2: Cutting and Positioning for the New Fan
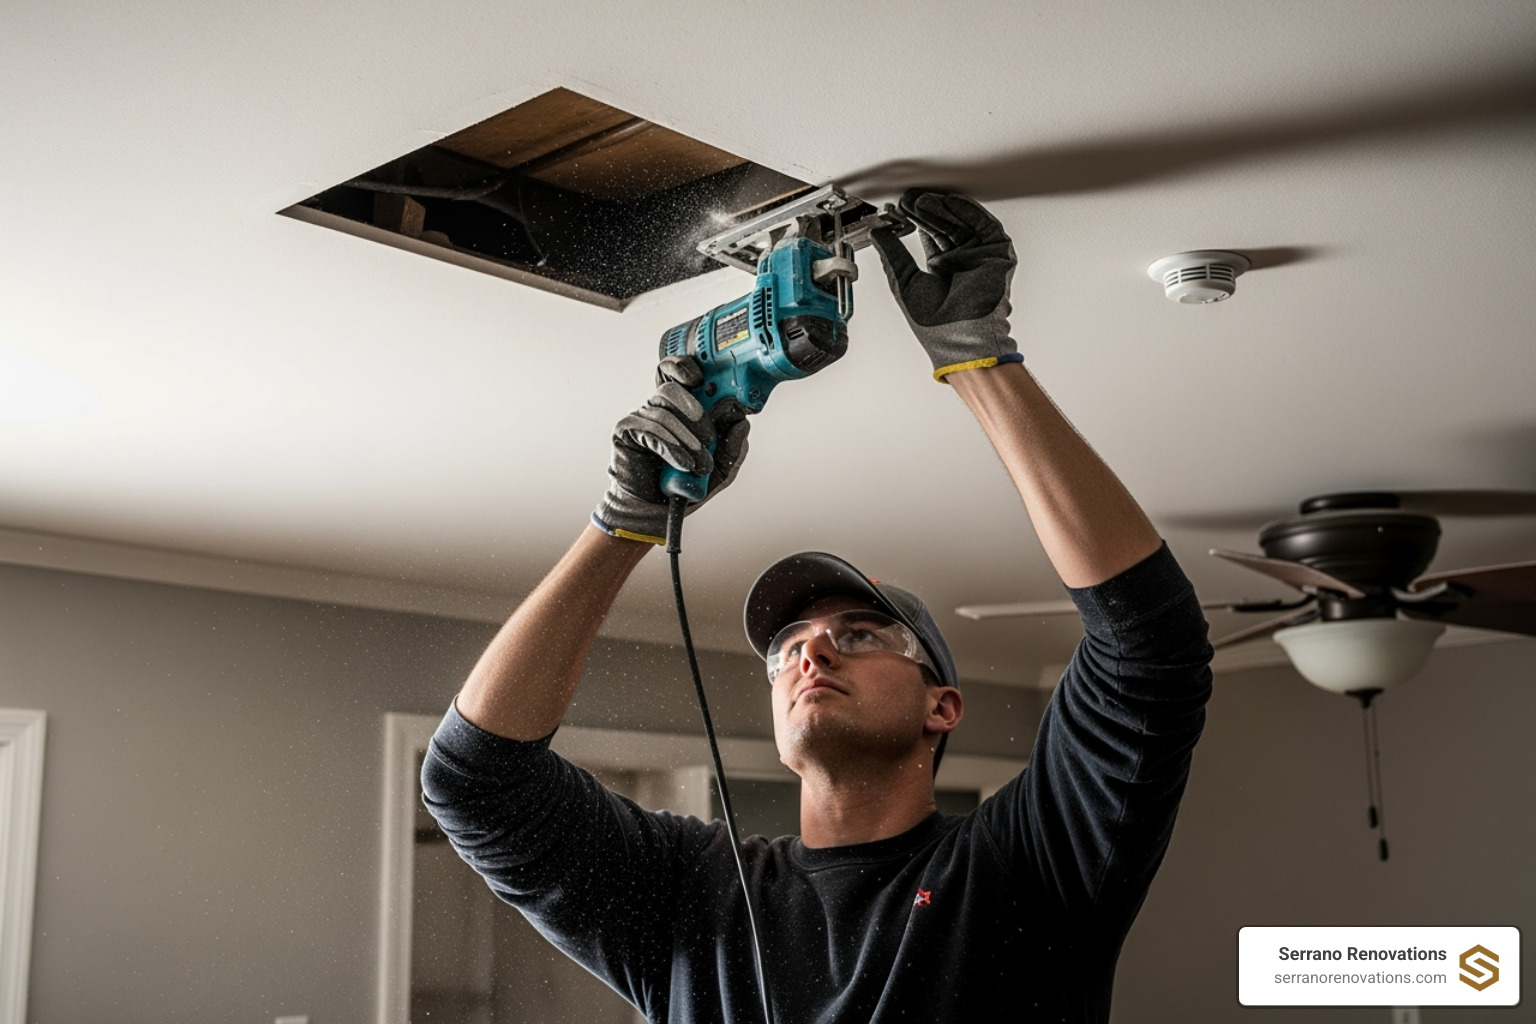
For a new installation or a different-sized fan, precision is key. Use the template provided with your new fan to trace the opening on the ceiling. Before cutting, use a stud finder to locate the ceiling joists, as the fan must be mounted securely. Carefully cut along your traced line with a jigsaw or drywall saw. If the new fan is smaller than the old one, you’ll need to patch the ceiling. For optimal placement, position the fan between the shower and toilet. For more expert insights on placement, refer to Expert tips on adding a fan.
Step 3: Mounting the New Fan Housing
Attach the fan’s mounting brackets to the housing according to the manufacturer’s instructions. Slide the housing into the ceiling opening, extend the brackets to the nearest joists, and secure them with drywall screws. Ensure the fan housing is firmly attached, level, and flush with the bottom of the drywall.
Step 4: The Critical Step – Proper Venting
Proper venting is the most critical step and where mistakes often happen. Your fan must vent directly to the outdoors.

- Never vent into the attic. This dumps moisture into an unconditioned space, leading to mold and potential structural damage.
- Do not vent into a soffit. Soffit vents are air intakes; exhausting moist air there can draw it right back into the attic.
Use insulated ductwork (flexible or rigid) to connect the fan to the exterior vent cap, especially in cold attics, to prevent condensation. Seal all duct connections tightly with foil duct tape. Keep the duct run as short and straight as possible, with at least three feet of straight duct from the fan before any bends.
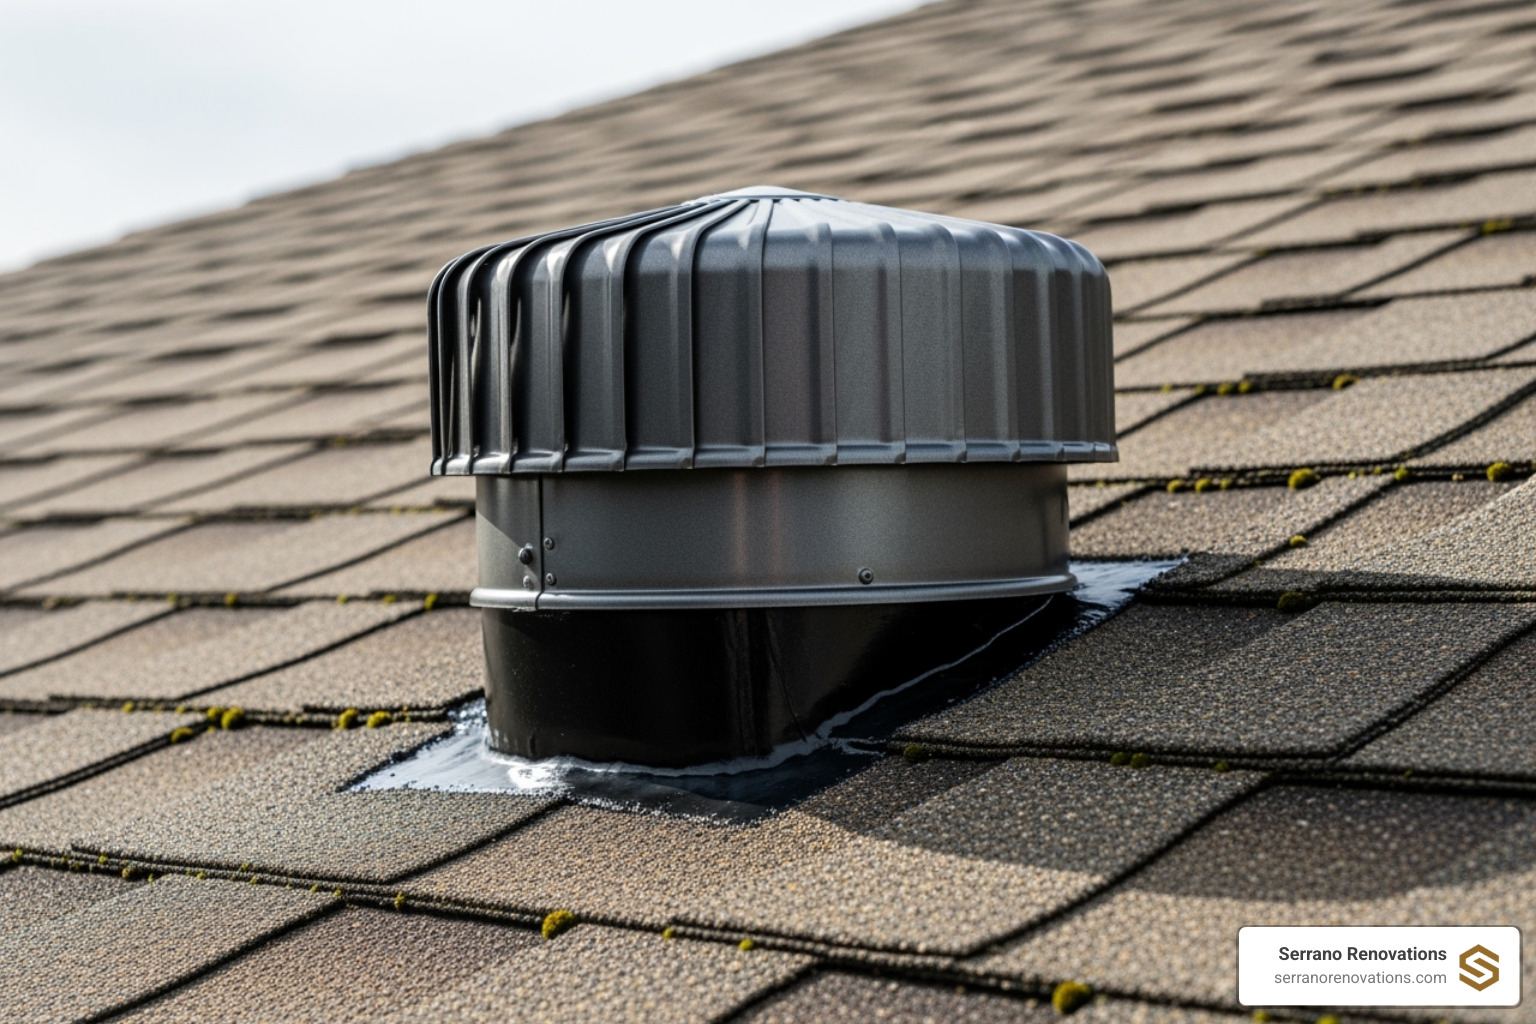
For roof vent installation, use a specialized roof vent cap, cutting a hole in the roof sheathing and sealing it thoroughly with roofing cement. For sidewall vent installation, use a wall vent cap, cutting a hole through the exterior wall and sealing it with silicone caulk. For more detailed information, explore Local Exhaust and Whole House Ventilation Strategies.
Step 5: Wiring the Fan
Wiring is straightforward if you follow safety protocols. Connect the house wiring to the fan’s wires: black to black (hot) and white to white (neutral). Secure the bare copper (ground) wire to the fan’s green grounding screw or connect it to the fan’s ground wire. Use wire nuts to secure each connection. Always refer to your fan’s specific wiring diagram, as units with lights or heaters may have additional wires. For more information on electrical work, see our Details on complete interior renovations.
Step 6: Final Assembly and Testing
You’re almost done. Slide the motor and blower assembly into the housing and plug it in. Attach the decorative grille with its spring clips until it’s flush with the ceiling. Go back to your electrical panel, turn the circuit breaker on, and test the fan. If it runs smoothly, congratulations! You’ve completed your bathroom exhaust fan installation.
Pro Tips & Common Mistakes to Avoid
Avoid common pitfalls to ensure your bathroom exhaust fan installation is a success. Here are the mistakes to avoid and the pro tips to follow.
Common Mistakes in Bathroom Exhaust Fan Installation
- Improper Venting: As stated before, never vent into an attic or soffit. This traps moisture, causing mold and structural damage.
- Leaky Ducts: Use foil duct tape on all connections to prevent air leaks. Fabric-backed tape will fail over time.
- Inefficient Duct Runs: Kinked or overly long duct runs reduce airflow and make the fan work harder. Keep runs short and straight.
- Air Leaks: Seal the perimeter of the fan housing to the drywall with caulk to prevent air from leaking into the attic.
- Incorrect Fan Sizing: A fan with too low a CFM rating won’t effectively remove moisture from your bathroom.
Pro Tips for a Flawless Bathroom Exhaust Fan Installation
- Strategic Placement: Position the fan near the shower, between the shower and toilet, for maximum moisture capture.
- Use Insulated Ducting: In cold climates, this prevents condensation from forming inside the duct and dripping back into your bathroom.
- Slope Wall Vents: For wall vents, create a slight downward slope to the exterior to ensure any condensation drains outside.
- Install a Timer Switch: A timer keeps the fan running for 15-30 minutes after you leave, clearing all residual moisture.
- Choose a Quiet Fan: A fan with a low sone rating will be used more regularly, making it more effective.
- Double-Check Power: Always use a circuit tester to confirm the power is off before you start working. Your safety is paramount.
- Catch the Dust: Tape a garbage bag below your cutting area to catch drywall dust and simplify cleanup.
Frequently Asked Questions about Bathroom Fan Installation
Here are answers to the most common questions about bathroom exhaust fan installation.
How long does it take to install a bathroom exhaust fan?
Installation time varies. A professional can take 1.5 to 4 hours, while a DIY project may take 2 to 6 hours. Factors like attic access, new wiring needs, roof work, and removing a stubborn old fan can affect the timeline.
Can I vent my bathroom fan through the soffit?
No, and it’s critical to understand why. Soffit vents are air intakes for your attic. Venting moist air out through them can cause it to be drawn right back in, leading to moisture re-entry and attic condensation. This can cause mold and mildew growth on your home’s structure. This practice also typically violates building code. The best practice is always to vent directly outdoors through the roof or a gable-end wall.
Do I need a permit to install a bathroom exhaust fan?
Permit requirements vary by location, so it’s crucial to check with your local municipality. Electrical permits are often required for new wiring, while mechanical permits might be needed for cutting into a roof or exterior wall. A quick call to your city’s building department before you start can clarify requirements and prevent future issues. If the process seems daunting, consider consulting with Information on professional contractors who are familiar with local codes.
Conclusion
Congratulations on completing your bathroom exhaust fan installation! This rewarding DIY project creates a healthier, more comfortable living space. You’ve improved your home’s air quality and protected it from costly moisture damage, preventing foggy mirrors and mold growth.
By doing it yourself, you’ve gained valuable skills, saved money, and increased your home’s value. Proper ventilation is a key feature that signals a well-maintained home. At Serrano Renovations, we believe in empowering homeowners with the knowledge to tackle projects like this with confidence.
Sometimes, a single project sparks ideas for bigger changes. If your newly ventilated bathroom has you thinking about a complete remodel, our expert bathroom remodeling services can help you create the bathroom of your dreams.
We offer custom solutions that go beyond standard service in the home improvement industry. If you’re in South Florida and ready for your next project, we’d love to help. Contact us for your Deerfield Beach bathroom remodel and let’s discuss how we can bring your vision to life.


Comments